Creating the maze project
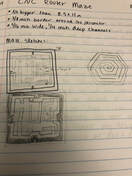
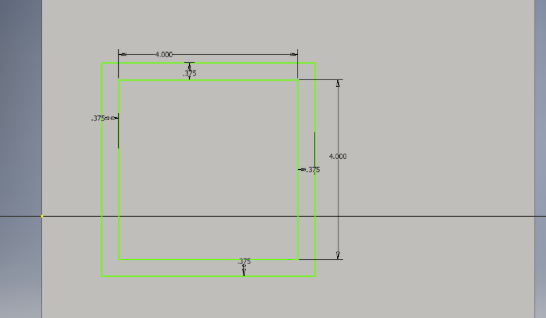
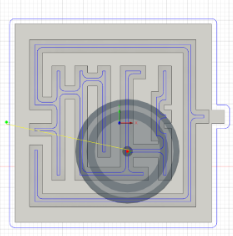
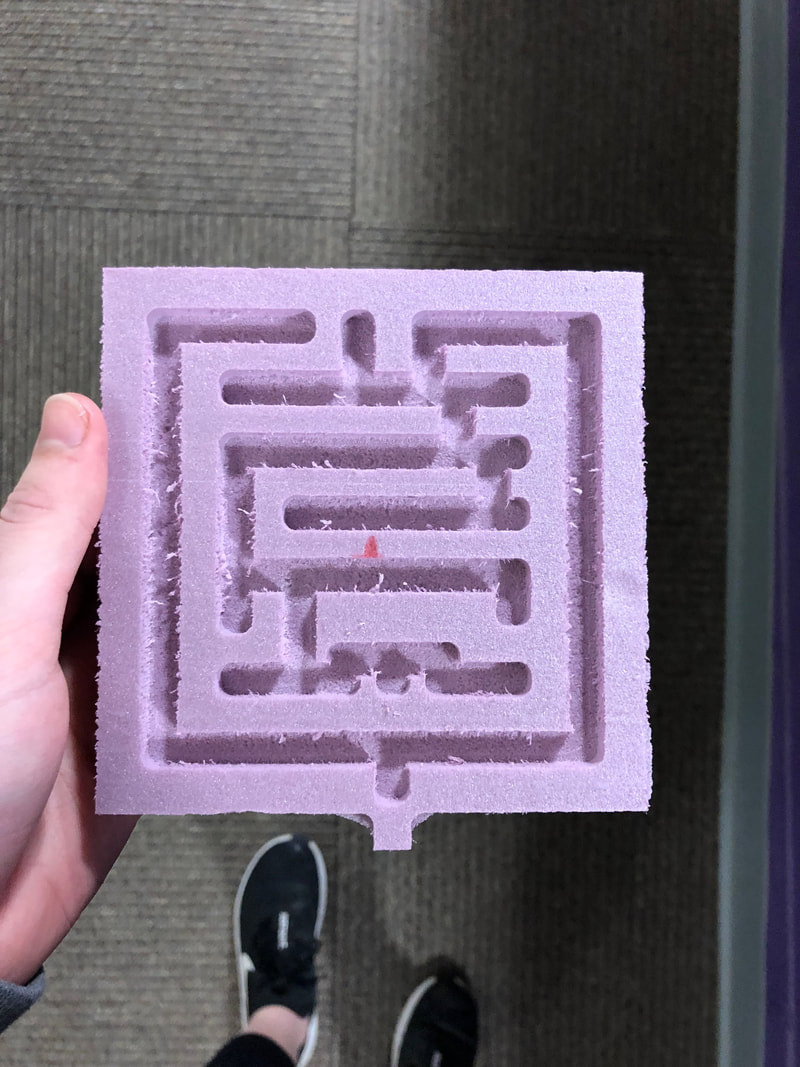
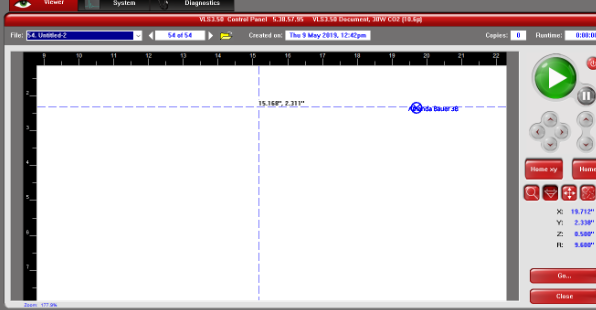
I started off by sketching the design I liked. Then I took it to Inventor to create the 3D model of it. Once I got the main design I dimensioned every path to be 5/16" wide and the border around 3/8". Once my design was completed with all the correct dimensions I uploaded it to Fusion 360. There I set up my tool path. I placed the stock box point in the middle of the piece and set the stock to 11x8.5x.75 inches. And also made the offset zero.
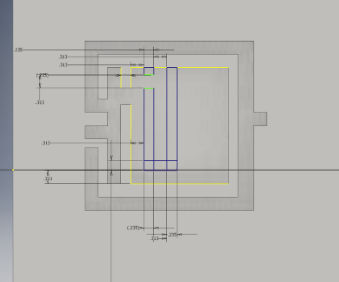

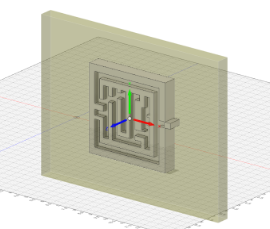
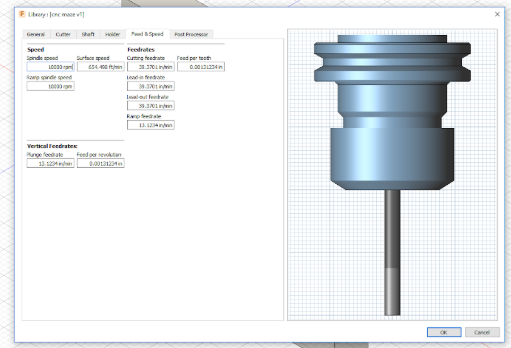
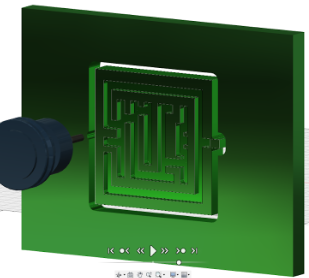

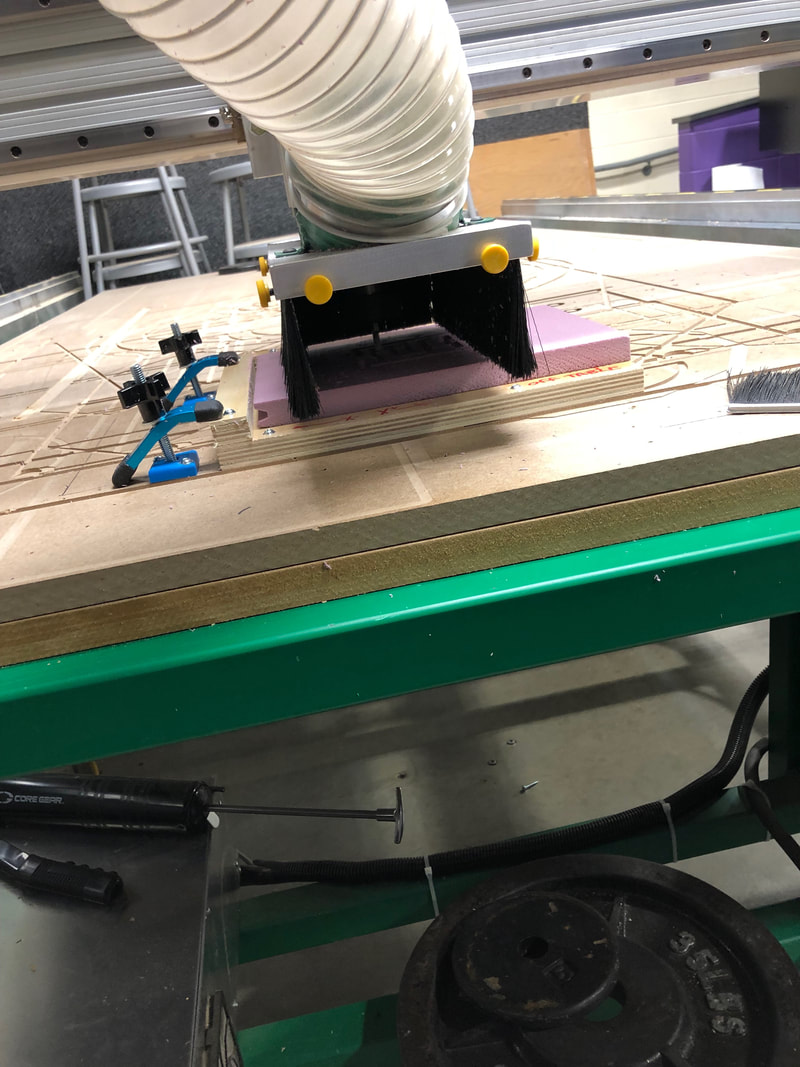
Then I went under the feed and speed tab to change the speed and size of the tool (shown in the picture above the measurements). then I went to the passes tab to change the step down to 1/4", this ensured the foam would not melt. I then got a piece of foam and measured the middle point of it, and taped it to the table set up in the router. I lined up the bit on the router to this spot. Once I zeroed x and y I made the z setting correct by using the sensor. After all of that my maze was ready to be cut out.

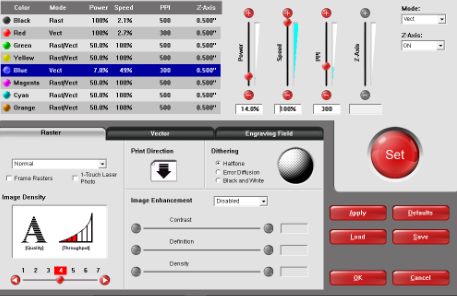
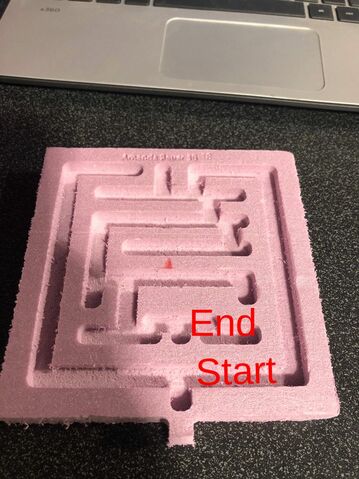
Then I designed an illustrator file with my name to engrave my name onto the project with the laser. I used text, created outlines and changed the stroke to blue and the blue setting to 0, 0, 255 in order. Changing the power setting to 14%. Below is the final product.
In this project I learned how to use Fusion 360 and the CNC Router. It was really fun to be able to create my own design and then use a different machine to cut it out. The new software was tricky at the start but after awhile I got used to it. I'm excited to use Fusion again on a similar project to this but just on a different machine! Overall it was pretty easy to replicate and produce. The router wasn't difficult to use and was pretty straight forward.
