Illustrator

Illustrator is a software used for graphic drawing using vector images rather than raster. Creators can make the vector images into logos, name decals, vinyl decals, and much more. On illustrator you can do all sorts of things but for our use right now we used it for making the key chain and vinyl decal for our designer notebooks.
Creating the Key Chain
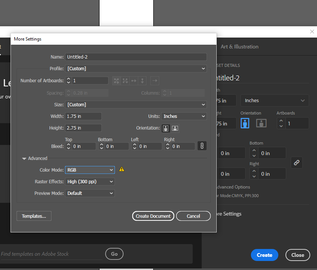
Open Illustrator and begin with a new file. Make the dimensions 1.75" by 2.75" and make sure it is in inches, this is the work space given for the key chain
Also change the color to RGB under advanced, as this is what our lasers read and follow.
Once all the setup is complete after selecting Create Document, use the shape tool on the left side tool bar to create the outline of they key chain. I decided to use the rounded rectangle and oval, as straight edges can be sharp.

Use this key located on the handout to determine what kind of line you want and thickness it should be set at. The outside border and circle for the key hole of the key chain will be red.
|
|

Then create a small circle as the key ring, make sure it is at least 3/16". Hold "shift" to ensure the circle does not get distorted. Make the border red at .0001 pt.
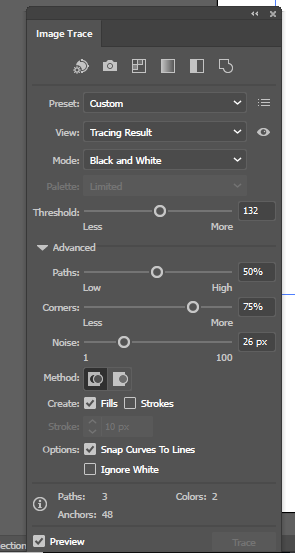
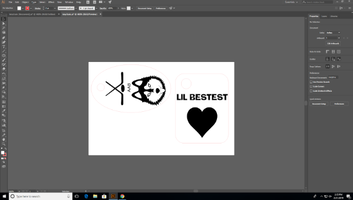
Once the border is set then you can start adding images and text. Search for any image on google using keywords such as "clip art" and "black and white". Copy the desired image then hit ctrl V in illustrator. You will notice the pixels of the image right away. To make the image a raster image select image trace on the top bar. Make any wanted changes to the boldness of the image under the advanced tab, then hit expand. To add any text select the Text button and click on the screen. Type what you want then go back to the black arrow selection tool. Right click on the text and select "Create Outlines". |

Save the illustrator file on you H:Drive.
Using the Laser
Open the file up on the laptop set up with the laser. Go to file, then print, setup, preferences.
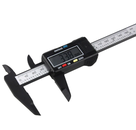
Under the Materials tab select Plastic then Acrylic then Extruded Acrylic. Then find a piece of acrylic in the bin and measure the thickness of it using the caliper tool and enter that value into the thickness of material section, mine was 0.207". Open the UCP software that goes with the particular laser. Click the on bottom after you have turned the exhaust is on. Your image should show up in the space of the laser on the screen. Open the laser and place you material in the upper right hand corner as this will be easiest to see from the computer. Use the Focus tool and line it up with the corners of the material. Then using the Relocation tool move the image to about where the material is. Keep using the focus and relocation tool to make sure the image will print fully onto the acrylic material as best as possible. |

The second button is the focus tool and the third button is the relocate button
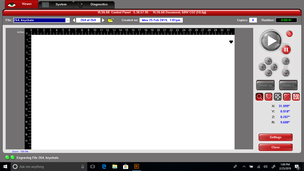
|

You can see here that the red dot is at my upmost left point ensuring that my image will be engraved on the acrylic. Once the corners are sufficient close the laser and hit the big, green Play button to start engraving the key chain. |

|
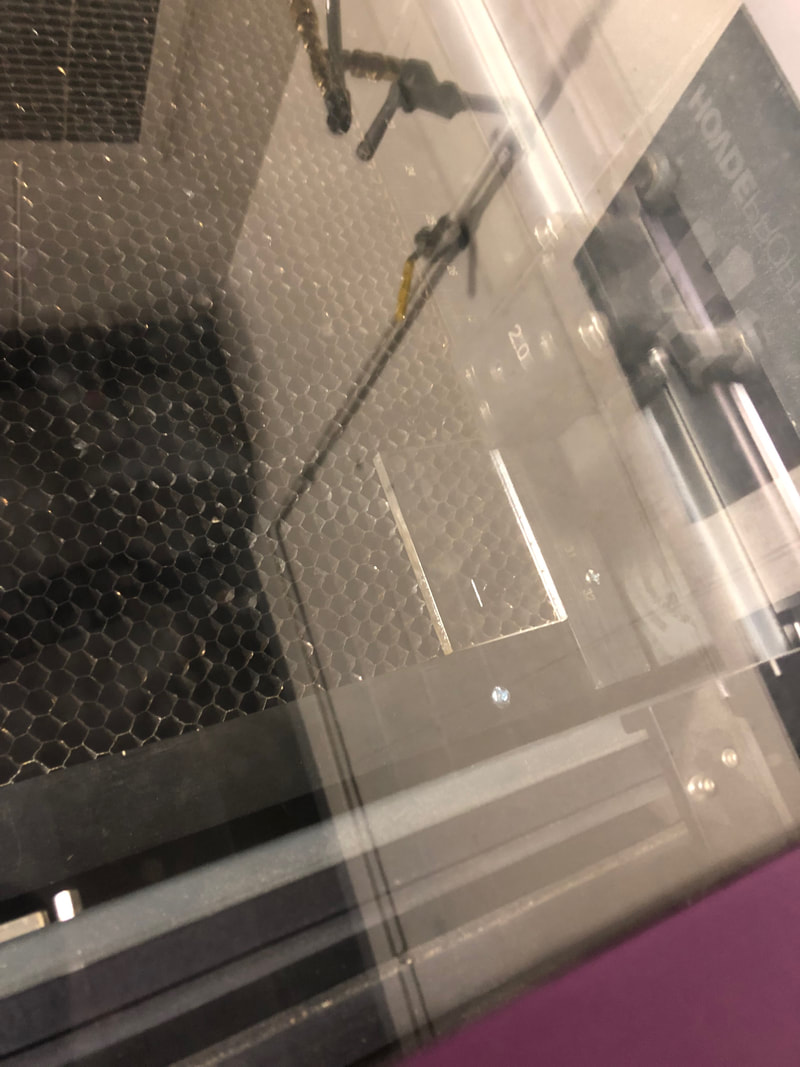
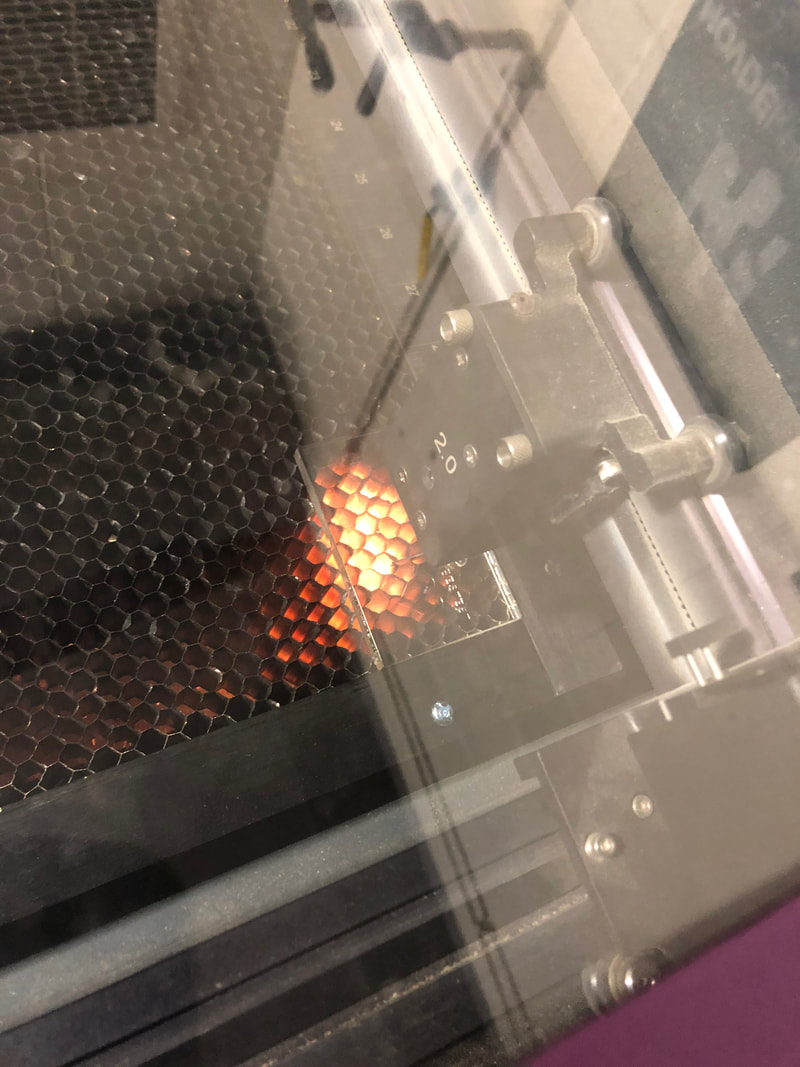
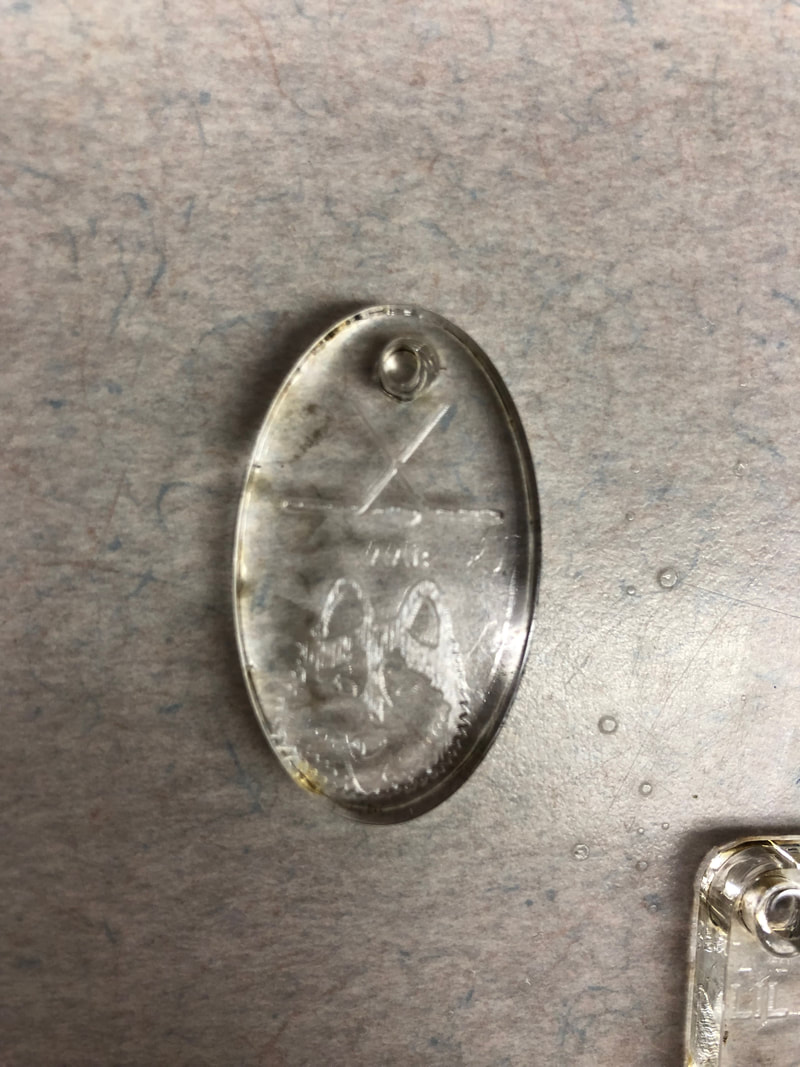
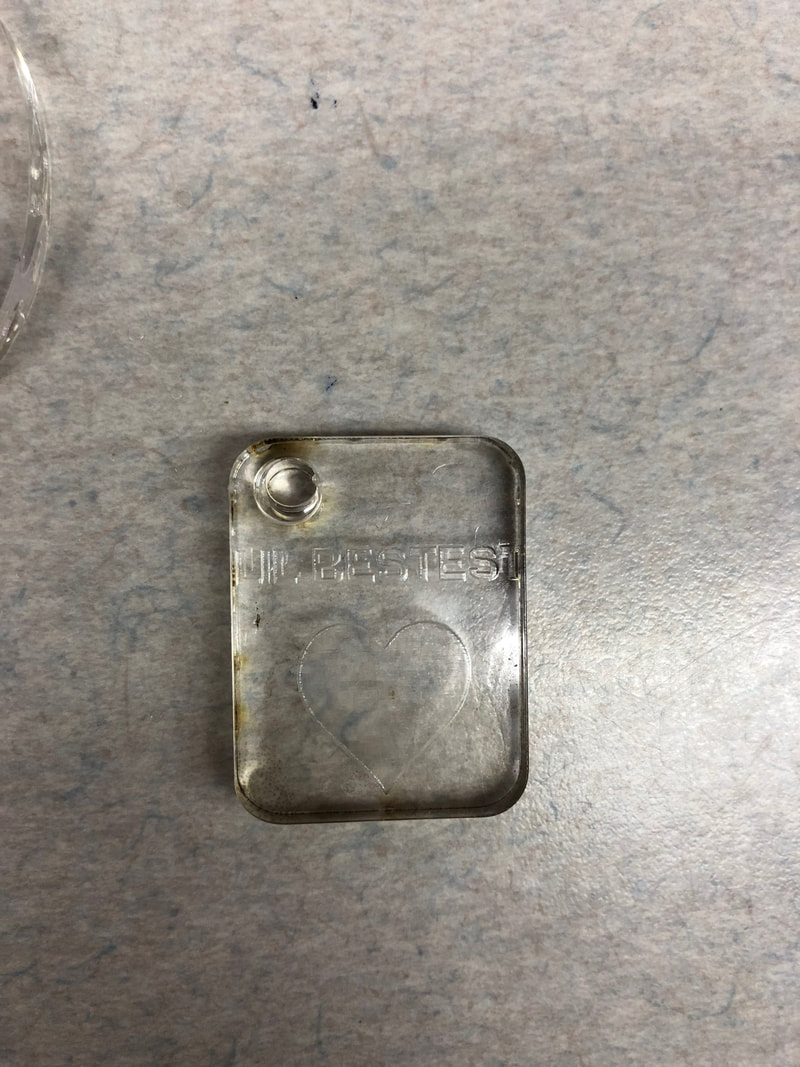
First the laser starts by engraving the black/gray lines bottom to top as seen in the first picture. When everything on the image is engraved the laser cuts the red lines seen in the second picture. These are my two small key chains I made with the space provided. Once I got home i washed off the brown with soap and water and then they were clear.
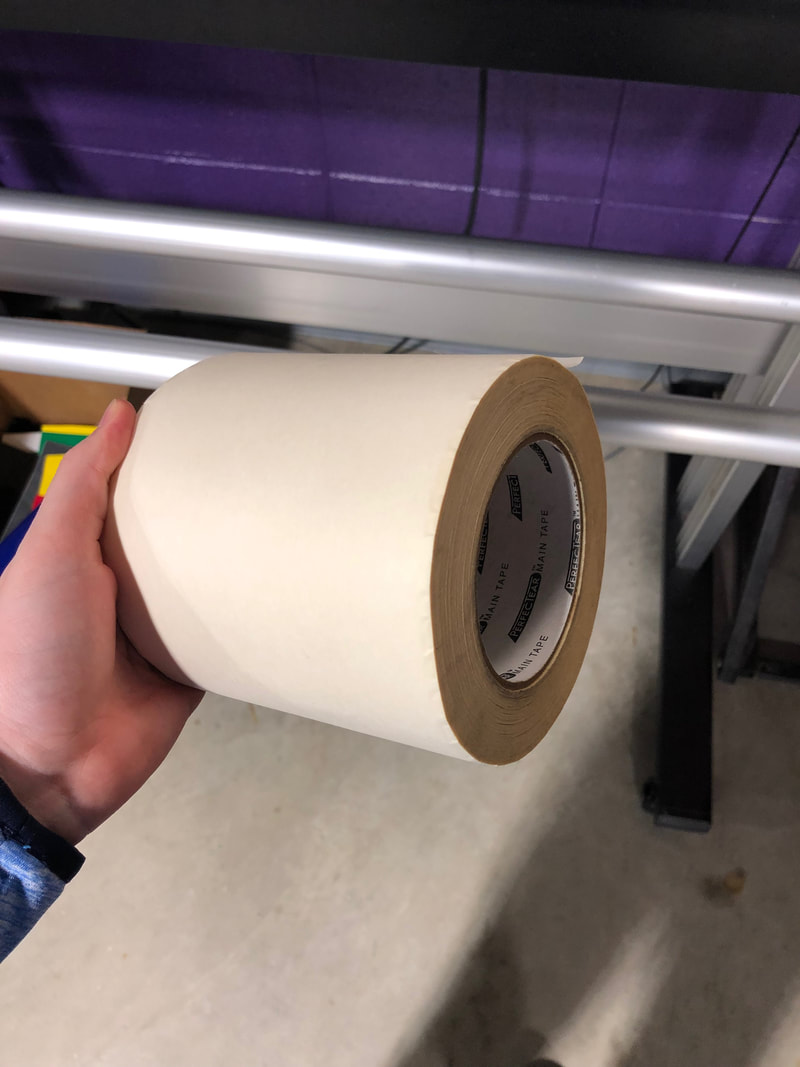
Vinyl Cutter
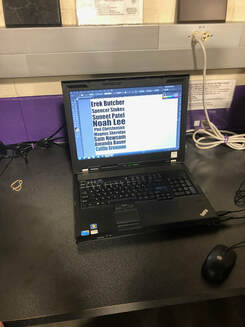
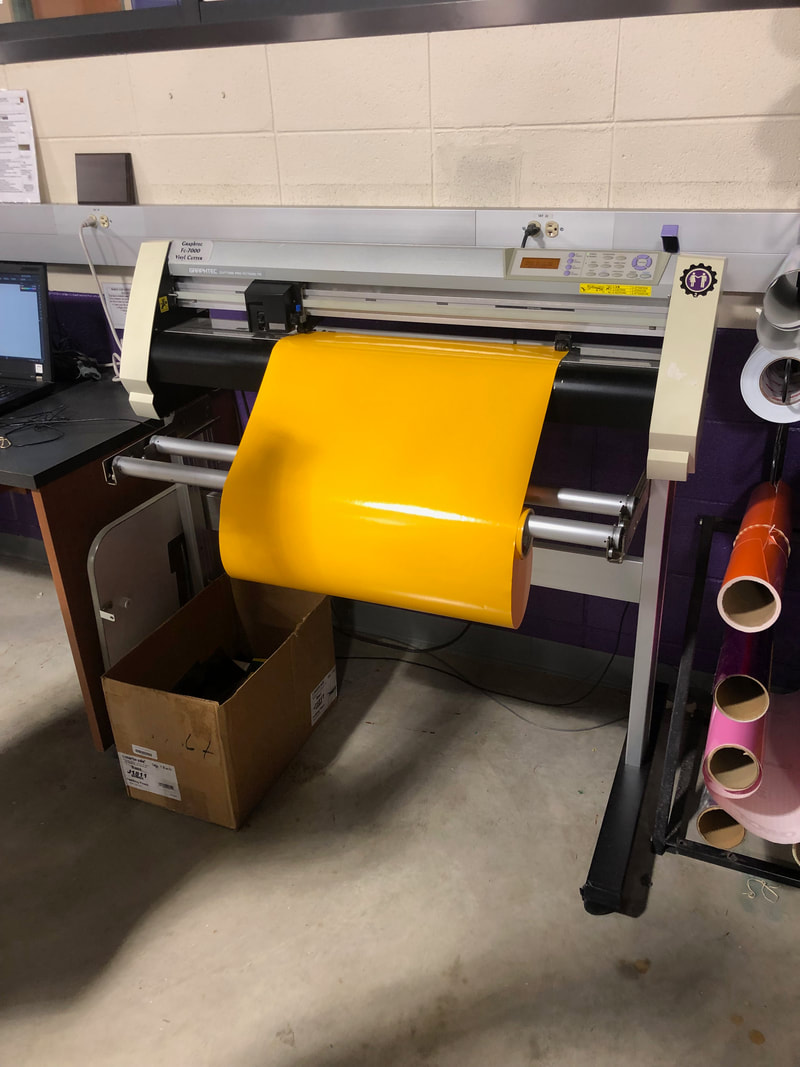
We all started by entering our names into the space on illustrator. Mrs. Proctor loaded a roll of yellow vinyl into the vinyl machine, making sure that the rollers were on the specified grip areas. Then she used the buttons on the machine to measure the piece of vinyl. From there she decided on how to use the least amount of the vinyl on the print screen. Finally, the vinyl cutter cut out our decals.
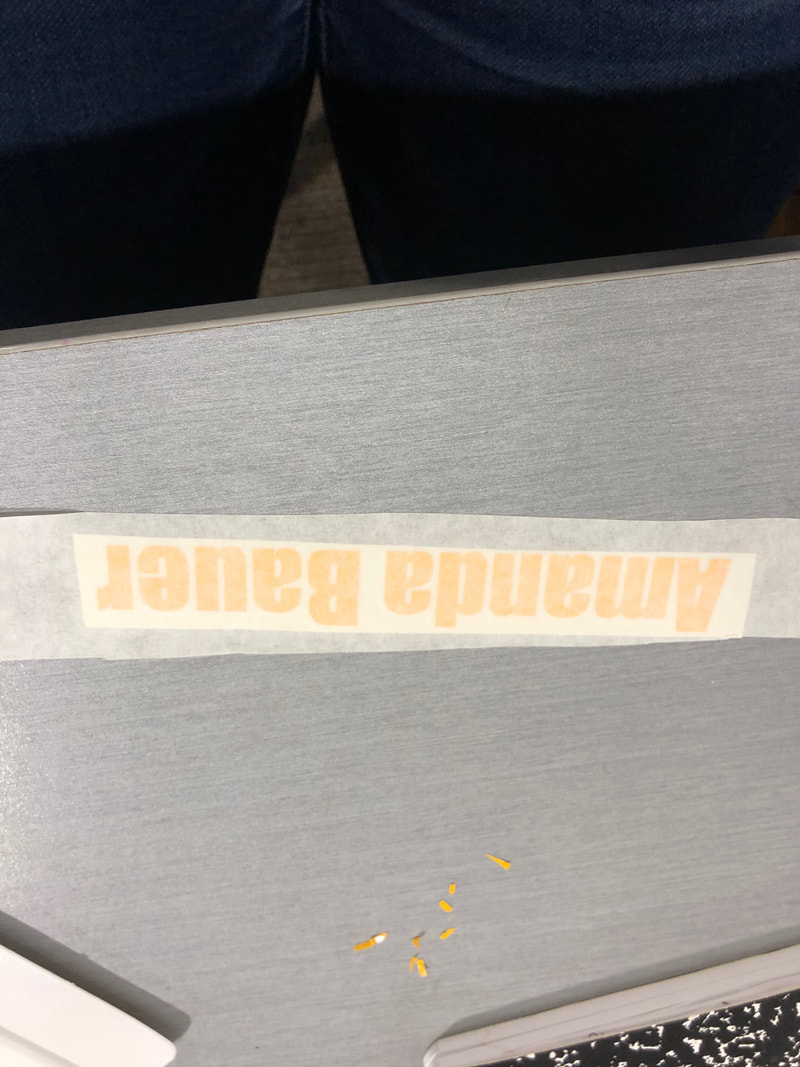
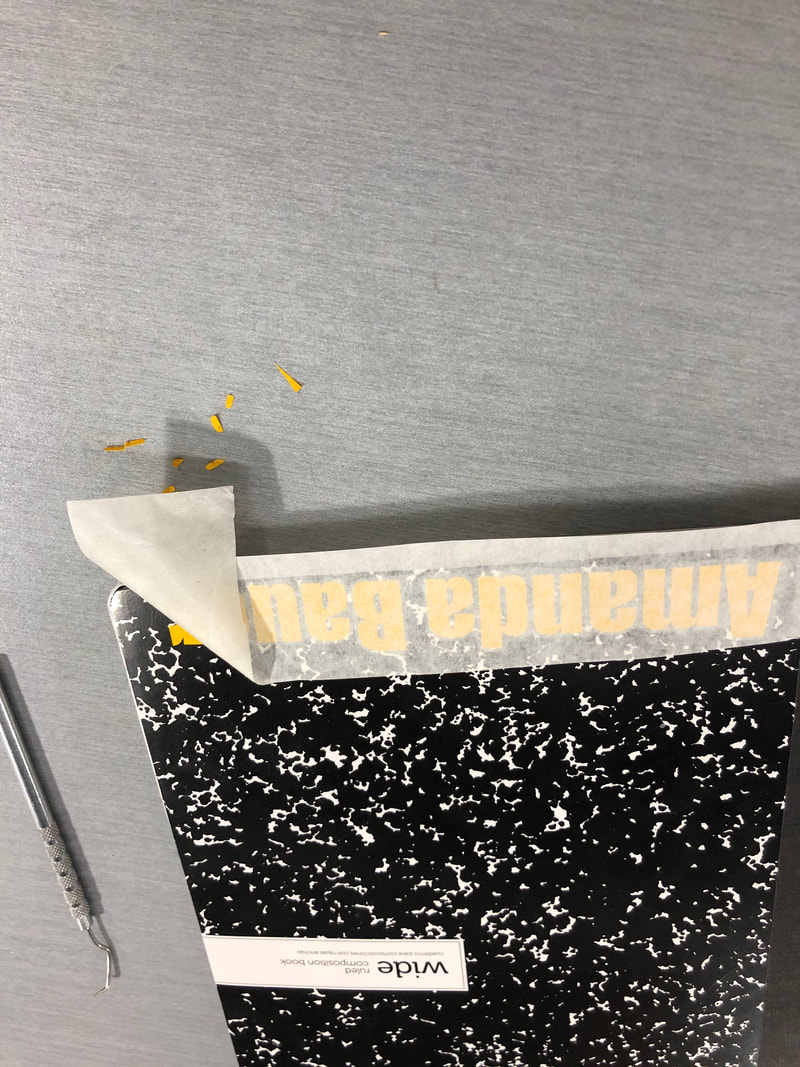
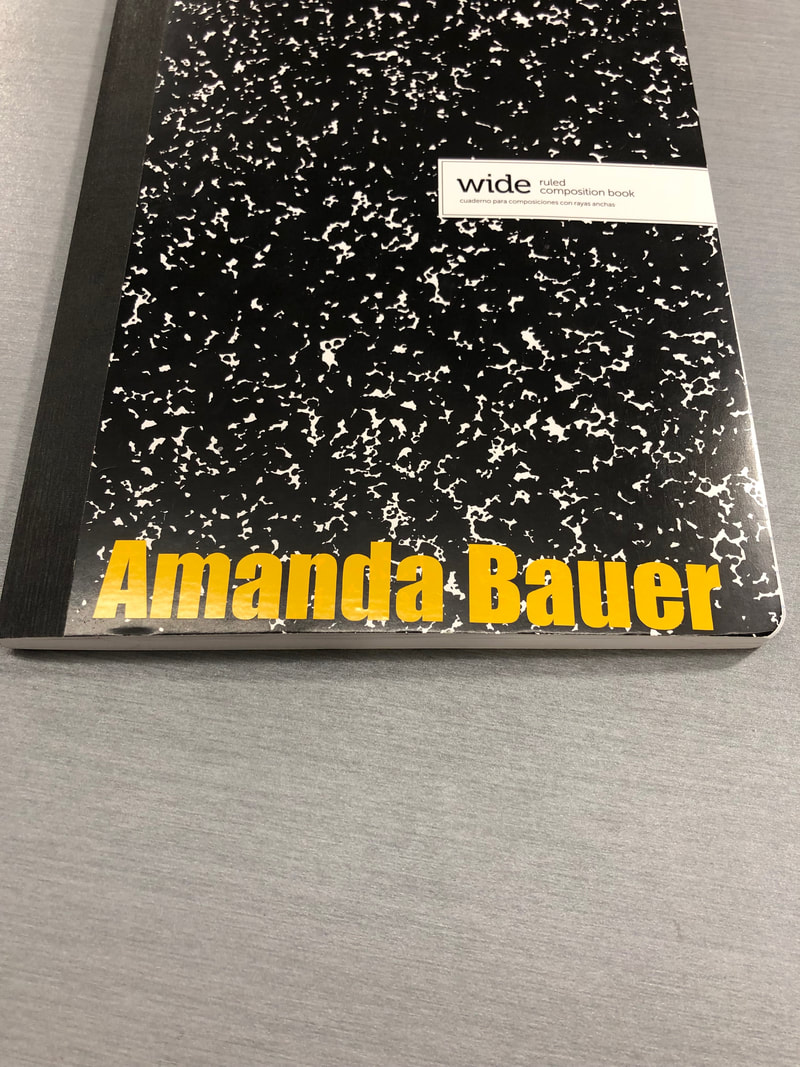
After the decal is cut out pull off the background vinyl leaving the letters still on paper. Then take a dental tool to take out excess vinyl in certain letters such as the space in the "a". Once the letters are ready cut a piece of transfer tape and place it over the letters. Use a squeegee and press down to ensure that the letters will stick to the transfer tape. Then take off the back vinyl stick tape carefully to make sure that the letters are still intact. Line up the edges of the letters with the designer notebook then press down the tape and stick the letters onto the notebook. Again, use the squeegee to apply pressure and securely stick the letters onto the notebook.
In this introduction to Illustrator I learned a lot. I learned first off how to use illustrator and navigate through the software. I learned the difference between raster and vector images and the uses for both. I learned how to convert in image into raster in the meantime. I learned that creating something in illustrator can turn into many different things such as a decal on vinyl or use the laser to make a key chain out of acrylic. Using Illustrator you can use various machines to make a product. I look forward to the individual projects using Illustrator and these machines.
