|
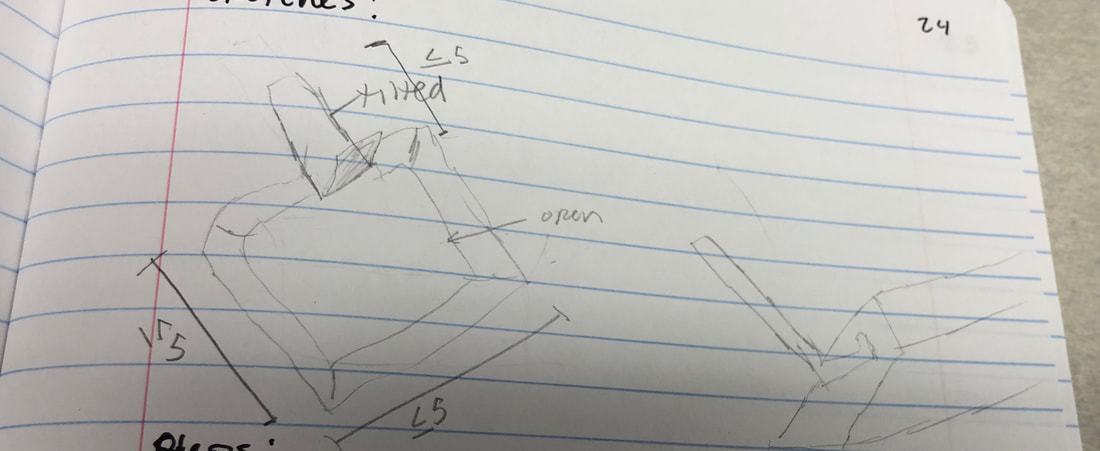
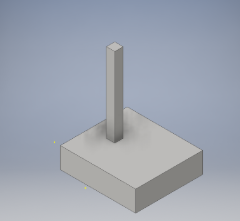
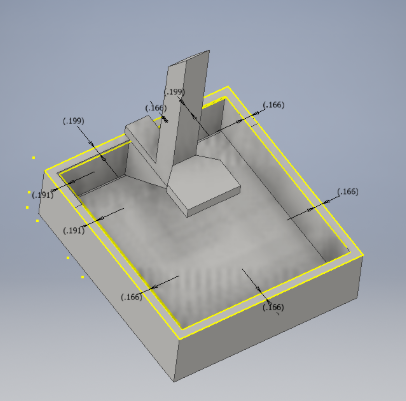
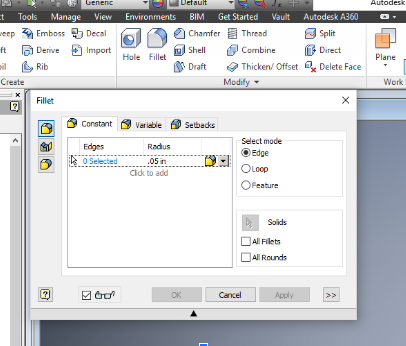
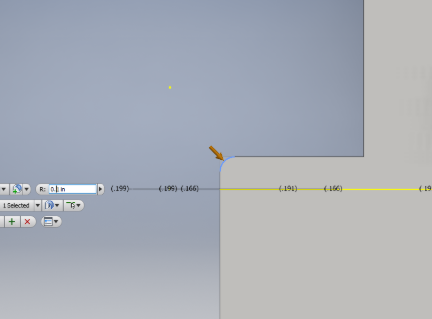
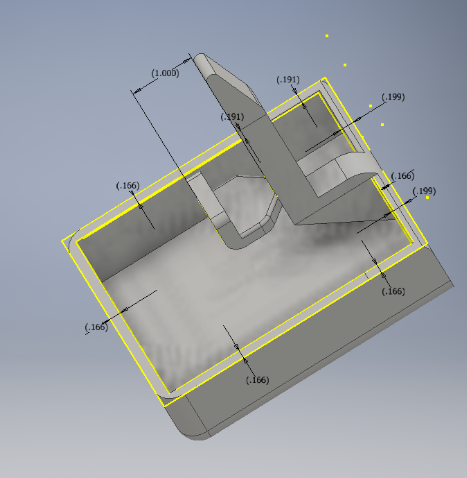
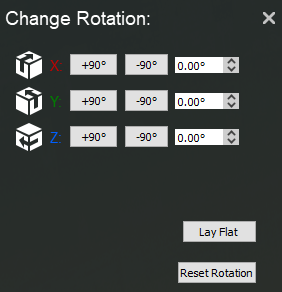
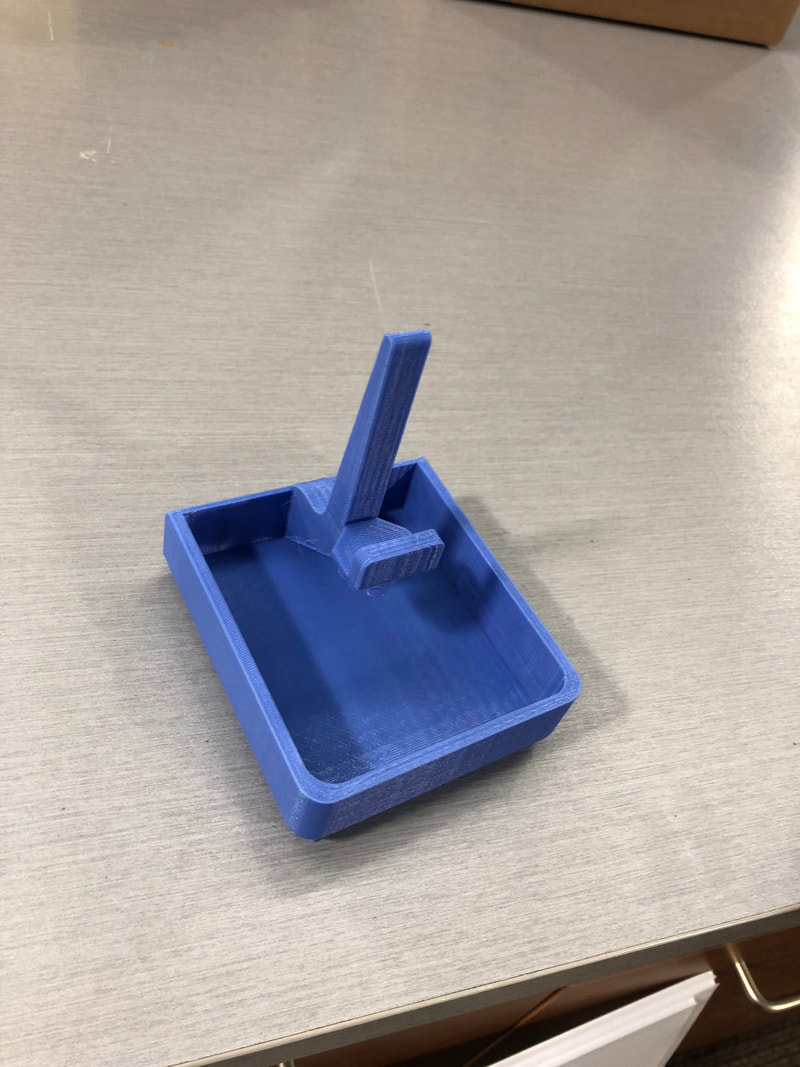
Out of the options we could choose form I chose to create a phone holder. This is my first sketch of the design I wanted to make. I wanted to make space in it for other things I use like chapstick to put in it, I started by designing it in Inventor. I got the main shape down first then edited all the sizing and things later. Once I got the design finished I used the fillet tool on most of the edges to make it look nicer and not have sharp edges. I kept the distance of it consistent on the outer edge so it would be even. These additions made my design look more sleek, less bulky, and use less material.
|
|
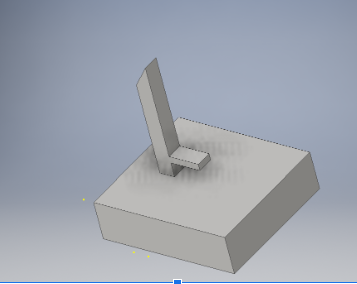
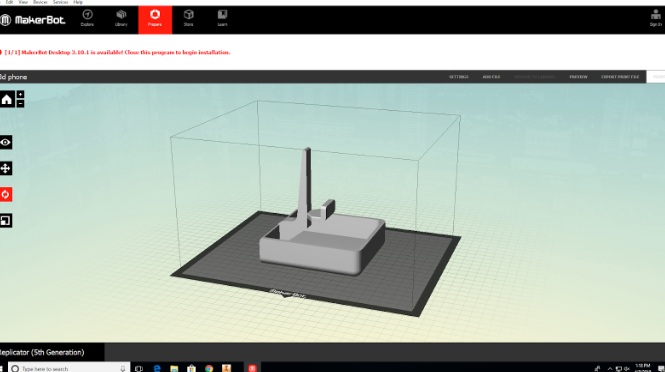
Once the design all the way to the right was to my liking I saved it as a CAD format STL file. I then used the Makerbot software to upload my design and size and save it correctly to my flash drive. I rotated the image so the bottom and selected lay flat so it would be flat on the bed and scaled it 1000%. I changed the settings so it would print as a Smart Extruder +. After that I exported it to my flash drive.
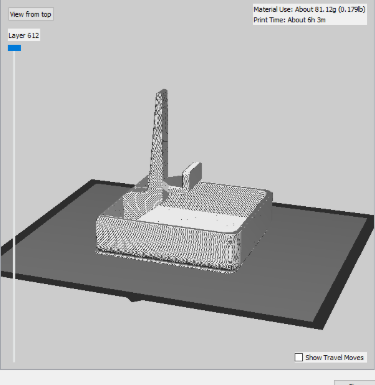
I put the flash drive into the 3D printer and used the dial to select USB and then my design file. When it opened up it said it would take just over 6 hours to print. I watched as it started printing and when I came back it printed perfectly how I wanted it! I took of the excess plastic on the bottom and under my platform.
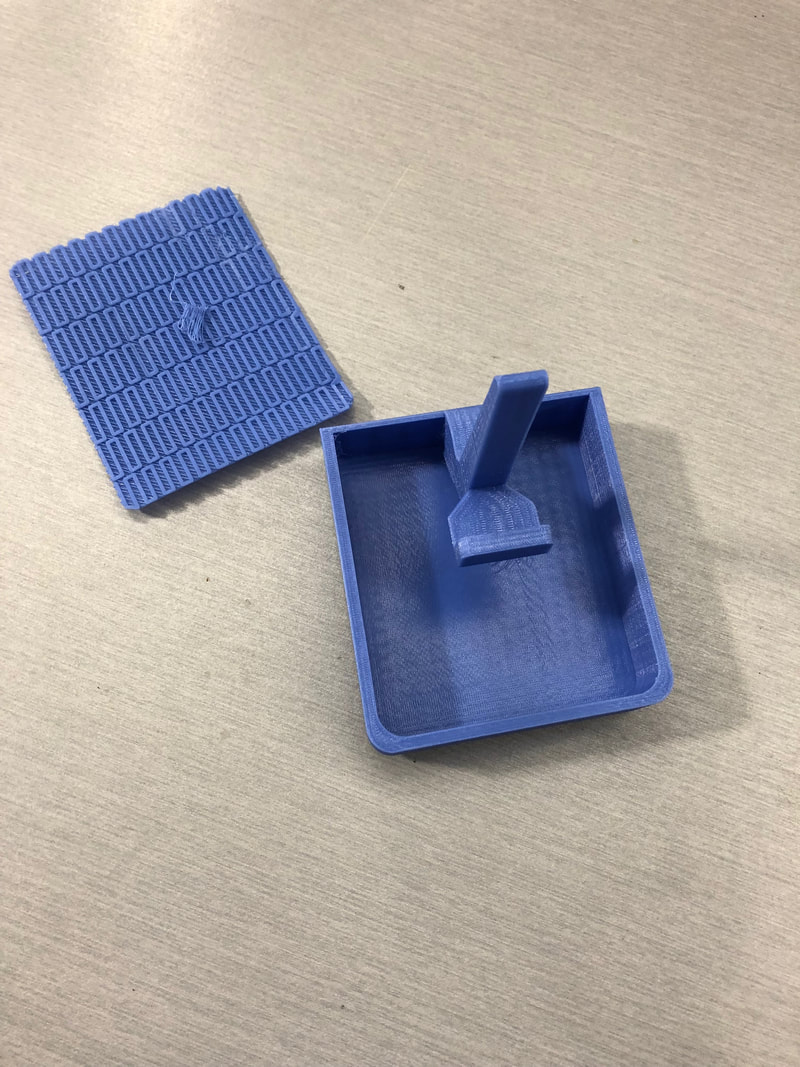
Overall in this rotation I learned to be a lot more comfortable with using Inventor. After a while I found the fillet tool and used it on my edges to make them look cleaner. I learned how to design something of my own making unlike the widget. I had to use my own measurements as long as they were in the 5x5x5 limit. I better understand how to use inventor faster and in more efficiently. I am very pleased with my final outcome of this project, it looks just as I wanted.
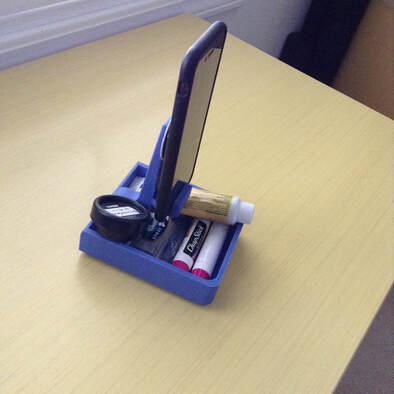
Final Product in use